Vacaero

Manufacturers of heat treating and brazing vacuum furnaces and controls, complete hot zone and vacuum furnace retrofits, thermal spray coatings, plasma, HVOF and paint coating services.

VAC AERO Service Experience Trust
Canada FrançaisAccessibility |
  • Home
  • Company
  • Vacuum Furnaces
  • Thermal Processing
  • Coatings
  • Service & Support
  • Resources
  • Contact Us
  • Request for Quote

Conducting the Failure Examination

February 8, 2016 by George Vander Voort

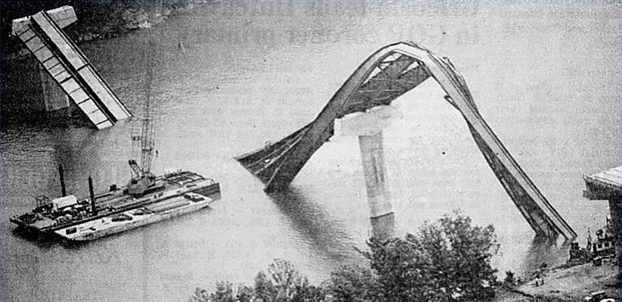
Conducting the Failure Examination

Failures in metallic components may be caused by any of the following factors or combinations of factors: Design shortcomings, imperfections due to faulty processing or fabrication, overloading and other service abuses, improper maintenance and repair and environmental factors.

Not all failures are catastrophic. Many failures involve a gradual degradation of properties or excessive deformation or wear until the component is no longer functional. Failures due to wear or general corrosive attack usually are not spectacular failures, but account for tremendous material losses and downtime every year. Of course, early failures of the spectacular catastrophic order capture the most attention-and rightly so. Nevertheless, all failures deserve the attention of the investigator because they reduce production efficiency, waste critical materials, and increase costs. In some instances, they cause considerable damage or personal injury. Finally, failures can result in costly litigations.

An Introduction to Vacuum Pumps

January 13, 2016 by VAC AERO International

An Introduction to Vacuum Pumps
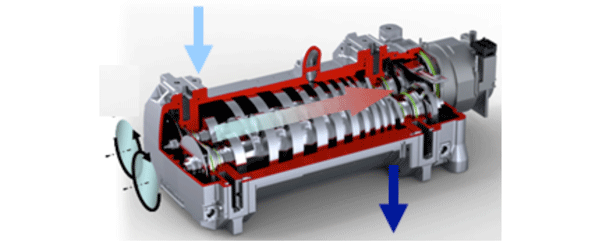
When designing or operating a vacuum system, it is critical to understand the function of the vacuum pumps. We will review the most common types of vacuum pumps, their principles of operation and where in the system they are used.

Vacuum pumps are categorized by their operating pressure range and as such are classified as primary pumps, booster pumps or secondary pumps. Within each pressure range are several different pump types, each employing a different technology, and each with some unique advantages in regard to pressure capacity, flow rate, cost and maintenance requirements. Regardless of their design, the basic principle of operation is the same. The vacuum pump functions by removing the molecules of air and other gases from the vacuum chamber (or from the outlet side of a higher vacuum pump if connected in series).

Identifying the Cause of Tool and Die Failure

January 6, 2016 by George Vander Voort

Identifying the Cause of Tool and Die Failure

Steels used for tools and dies differ from most other steels in several aspects. First, they are used in the manufacture of other products by a variety of forming processes. Second, tools and dies are generally used at a higher hardness than most other steel products; 58 to 68 Rockwell C is a typical range. Dies for plastic molding or hot working are usually used a at lower hardness, typically from 30 to 55 Rockwell C.

These high hardness values are required to resist anticipated service stresses and to provide wear resistance. However, the steels must also be tough enough to accommodate service stresses and strains without cracking. Premature failure caused by cracking must be avoided, or at least minimized, to maintain minimum manufacturing costs. Unexpected tool and die failure can shut down a manufacturing line and disrupt production scheduling. Tools and dies must also be produced with the proper size and shape after hardening so that excessive finishing work is not required. Heat-treatment distortion must be controlled, and surface chemistries must not be altered. Because of the careful balance that must be maintained in heat treatment, control of the heat-treatment process is one of the most critical steps in producing successful tools and dies. In addition to controlling the heat-treatment process, tool and die design and steel selection are integral factors in achieving tool and die integrity. 

Cleanup of Contaminated Vacuum Furnaces

December 9, 2015 by VAC AERO International

Cleanup of Contaminated Vacuum Furnaces

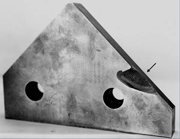
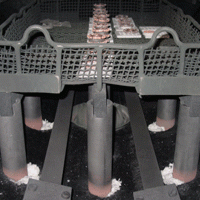
When operating vacuum furnaces, situations may arise in which the hot zone and/or cold walls may become contaminated (Fig. Nos. 1 – 2). This can occur from a variety of sources: air leaks, outgassing from residues left on the parts as a result of the manufacturing or cleaning processes, vaporization of sensitive materials (e.g., chromium-bearing materials), process induced contaminations such as carbon in the form of soot or tar, fluxes from brazing pastes, excess braze alloy as well as many other sources. Often times the work being processed is also affected (Fig. 3). The question becomes, how do we attempt to clean up our contaminated vacuum furnaces?

The leak test should be performed as part of routine operation and maintenance of equipment and typically consists of isolating the heating chamber (i.e., no pumping on the chamber) for a period of one (1) hour and measuring the increase (if any) in vacuum level. For single chamber vacuum furnaces, 10 – 20 microns per hour is considered an acceptable leak rate for general heat treatment (Note: specific materials, parts and/or processes may require a significantly lower leak rate). The vacuum level should be recorded before and after the test. Detailed procedures can be found in Reference 1.

Metallographic Examination of Medical Implants

December 8, 2015 by George Vander Voort

Metallographic Examination of Medical Implants

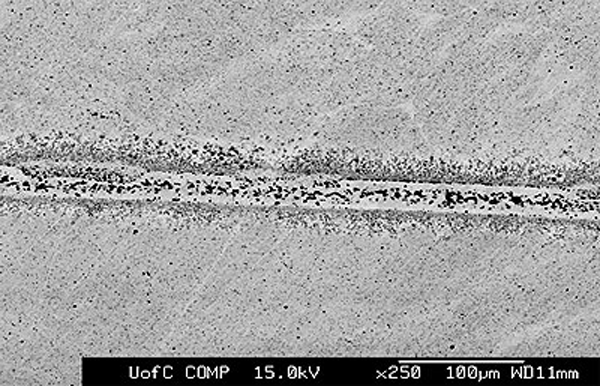
Medical technology has developed many new devices that can be implanted into humans (in-vivo) to repair, assist or take the place of diseased or defective bones, arteries and even organs. The materials used for these devices have evolved steadily over the past fifty years with titanium and cobalt-based alloys replacing stainless steels. Metallographic examination has become an indispensable tool in the testing, quality control, failure studies and post-mortem analyses of these devices. This paper presents techniques and results for examination of titanium-based acetabular cups and Co-Cr-Mo femoral hip stems and knees. These implants have porous metallic coatings on one side to enhance bone/metal interface adhesion by in-growth of bone into the porous coatings. 

What is a Normal, Uni-Modal Grain Size Distribution?

November 10, 2015 by George Vander Voort

What is a Normal, Uni-Modal Grain Size Distribution?

ASTM Test Method E 112 says it covers test methods to determine the average grain size of specimens with a uni-modal distribution of grain areas, diameters or intercept lengths. It says that these distributions are approximately log-normal. But, it does not describe how one can determine if their specimen’s grain size distribution is a uni-modal normal (Gaussian) distribution. ASTM E 1181, Standard Test Methods for Characterizing Duplex Grain Sizes, says it covers test methods to characterize grain size in products with any other distribution (other than a “single log-normal distribution of grain sizes”). But, the only example given in Appendix X2 shows the percentage of the number of intercept measurements in 38 length classes from 0 to 1 to 37 to 38 mm. Thirty eight classes is far too many to properly reveal the grain size distribution. This procedure reveals a log-normal distribution but it is not in terms of ASTM grain size numbers, which makes it less useful. 

Vacuum Diffusion Bonding – by Design

November 9, 2015 by Dan Herring

Vacuum Diffusion Bonding – by Design
Many of us who use vacuum furnaces are all too familiar with and have learned how to counteract the unintentional diffusion bonding that has been known to occur between component parts exposed to high temperatures and low vacuum levels.

By contrast, vacuum technology that has found an important niche is that of diffusion bonding by design2-6. Vacuum diffusion bonding relies on temperature, pressure, time, and (ultra low) vacuum levels to facilitate atomic exchange across the interface between the materials. The process will work on similar or dissimilar materials so long as they are in intimate contact with one another. Vacuum diffusion bonding can be performed with or without pressure being applied and with or without the assistance of a short-lived low melting point “filler metal” (i.e. “activation layers or interlayer”) to facilitate the joining process.

  • « Previous Page
  • 1
  • …
  • 8
  • 9
  • 10
  • 11
  • 12
  • …
  • 34
  • Next Page »
  • Vacuum Heat Treating: Education & Training
    • News & Announcements
  • Vacuum Technology with The Heat Treat Doctor
  • Vacuum Pump Technology: Education & Training
  • Metallography with George Vander Voort
  • Q’s and A’s
  • “What’s Hot!” Newsletter
  • Glossary Metallurgical Terms
voort
Vertical vacuum furnace specifications
horizontal vacuum furnace specifications
Vacuum Furnaces
Vacuum Furnace Zone Rebuilds
Technical Articles and Resources

Specialists in Vacuum Furnace Technology - High Quality Vacuum Furnace Manufacturer

COMPANY

  • VAC AERO Products & Services
  • Company History
  • Certificates & Approvals
  • Employment Opportunities
  • Values & Commitment
  • Corporate Sponsorship
  • Corporate Brochure
  • Terms & Conditions of Use
  • Privacy Policy

FURNACE MANUFACTURING

  • Horizontal Furnace Specs
  • Vertical Furnace Specs
  • Hot Zones
  • Control Systems
  • Custom Vacuum Furnaces
  • Quality Control
  • Service & Support
  • Furnace Request For Quote (RFQ) Form

THERMAL PROCESSING

  • Ontario – Plant 1
  • Ontario – Plant 2
  • Quebec – Thermal Processing Division
  • Specific Heat Treating & Brazing Approvals
  • Metallurgical Services Matrix

COATINGS

  • Quebec Coatings Division
  • HVOF Spray System
  • Specific Coating Approvals
  • Metallurgical Services Matrix

SERVICES & SUPPORT

  • Furnace Rebuilds & Upgrades
  • Hot Zone Rebuilds
  • Process Controls Upgrades
  • Ordering Parts
  • Field Service
  • Training Seminars

© Copyright 2016 VAC AERO - All rights reserved. Site Map Contact Terms and Conditions Privacy