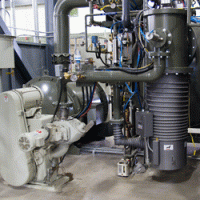
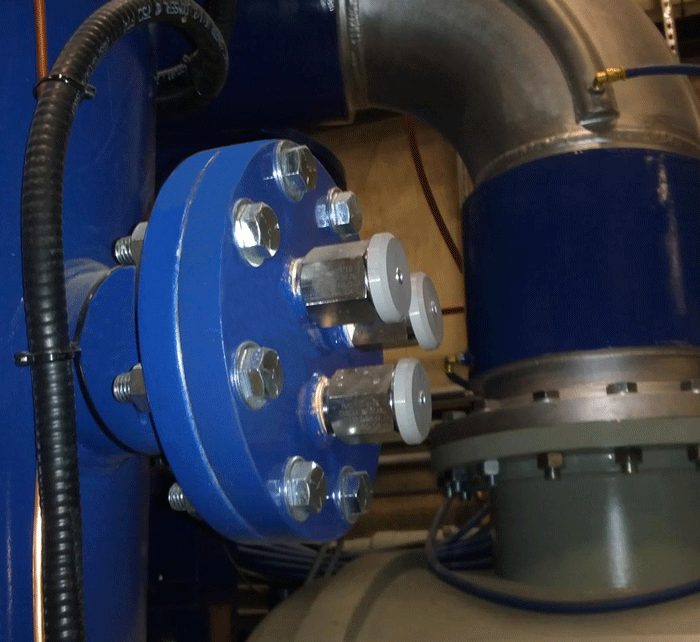
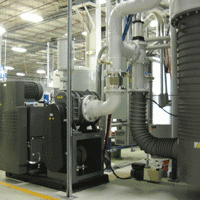
Well-designed piping of vacuum equipment, as well as proper component selection, increases production efficiency by minimizing the vacuum pumping time. It also minimizes energy use, making your equipment less expensive to operate. Ignoring the principle of conductance and designing the system with only physical configuration and flow rates in mind, can cause delayed equipment startup, plant downtime, and process inefficiency because if a problem is found after startup, it can take considerable time and money to correct.
Avoid Microindentation Hardness Testing at Low Loads!
For many years, ASTM E384 has stated that the load range for microindentation hardness testing with both Knoop and Vickers indenters is 1 to 1000 gf. But, it also states that tests that produce a Knoop long diagonal or a Vickers mean diagonal of < 20 gf should be avoided as the precision in measuring such small indents is poor. The standard recommends using loads no lower than 25 gf. This article shows that the Knoop test exhibits better measurement precision at loads of 200 gf and below because the long diagonal is 2.7 times greater in length than the Vickers mean diagonal length for the same specimen tested at identical loads. Knoop, however, does not produce constant hardness values as the load changes, which is a major problem. If one can use a 100X objective with a numerical aperture of 0.95 – while obtaining adequate image contrast – indents as small as 14.7 μm in length could be measured. But, the challenge is to obtain acceptable image contrast at 1000X magnification so that the indent tips can be clearly seen. Realistically, a minimum diagonal length of 20 μm is a better target.
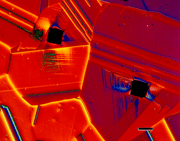
Image Caption: Aluminum brass, Cu-22% Zn – 2% Al that was solution annealed at 850C (producing a nice coarse grain size – average of ASTM 3.3). The specimen was etched with Beraha’s PbS tint etched and viewed with Nomarski DIC to bring out the deformation around the Vickers indents. The hardness was 57 HV – very soft! A 500 gf load was used. And it was taken at 100X.
Pressure Relief Valves
One of the most critical components on any vacuum furnace is the pressure relief valve. While its function is clear, the fact that it needs to be inspected – and tested is either not well understood or simply ignored. Normally positioned atop a vacuum furnace it is in an area that is not always conducive to maintenance, and complicated in many instances by the fact that only the manufacturer can service them.
What is a Pressure Relief Valve? A pressure relief valve is a safety device designed to protect a vacuum furnace from over-pressurization. An overpressure event refers to any condition that would cause the pressure to increase beyond the specified design pressure (the so-called maximum allowable working pressure or MAWP). The pressure relief valve is an integral part of the safety system provided on most vacuum furnaces. Vacuum vessels, including evacuated chambers and associated piping, pose a potential hazard to personnel and the equipment itself from collapse, rupture, or implosion.
Very Low Loads in Micro-indentation Tests Must Be Avoided
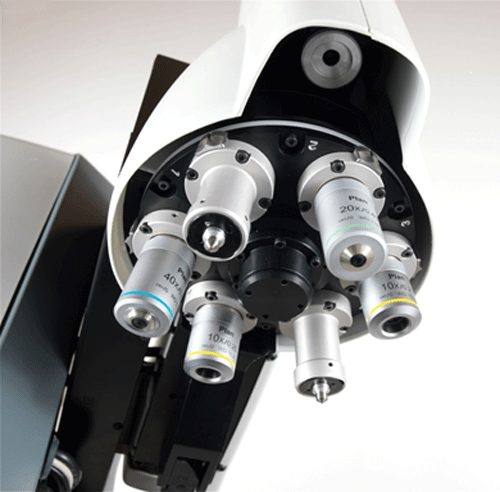
For many years, ASTM E384 has stated that test forces from 1 to 1000 gf can be used to determine the Vickers or Knoop micro-indentation hardness. But, is it realistic to consider using very low test forces when the indents are measured with a light optical microscope? ASTM E92 is being resurrected and changed to cover all test loads, micro- and macro-loads, from 1 gf to 120,000 gf. Most micro-indentation hardness testers manufactured over the last 50 years or more have provided the user with a 10X objective used to find the area of interest for testing and one measurement objective, 40X magnification being the most common. A few testers have offered 50X or 60X objectives to measure the indents. It is rare to find a tester with a multiple objective (and indenter) turret, such as the DuraScan system which has ports for 2 indenters and 4 objectives. But, even with the highest quality 100X objective, indents smaller than ~15 μm in length cannot be measured with adequate precision for realistic work. The ASTM standards should eliminate recommendation of use of test loads <50 gf for Vickers and <20 gf for Knoop.
In both ASTM E384 (Micro-indentation Hardness Test Standard) and the proposed revision and re-instatement of E92 (to cover both Macro- and Micro-Loads for Vickers and Knoop), test forces below 25 gf for both Vickers and Knoop testing are listed as permissible for use. The proposed E92 lists test forces for Vickers macro-testing up to 120 kgf , although no machine built in some time has provided forces above 50 kg. The original Vickers testers made in England did use test forces up to 120 kgf, but that is a historical fact, irrelevant today.
What is the Purpose of a Vacuum Pump
To successfully process component parts in a vacuum furnace, we need to create and control the “atmosphere” surrounding the work. In general, applications run in vacuum furnaces can be broken down into five main (5) categories: 1) Processes that can be done in no other way than in vacuum; 2) processes that can be done better in vacuum from a metallurgical standpoint; 3) processes that can be done better in vacuum from an economic viewpoint; 4) processes that can be done better in vacuum from a surface finish perspective and, 5) process that can be done better in vacuum from an environmental perspective.
A principal difference between vacuum heat treatment and all other forms of thermal processing is the absence of, or perhaps better stated, the precise control of surface reactions. In addition, vacuum processing can remove contaminants, and under certain circumstances degas or convert oxides found on the surface of a material. Typical vacuum applications include industrial, food and packaging, coatings, analytical and medical technology, solar, semiconductor technology and research and development. In the heat-treating industry typical processes involve: Brazing, Hardening, Annealing, Case Hardening (e.g. carburizing, nitriding), Sintering, Tempering and Special Processes (e.g. degassing, diffusion bonding).
Evaporation
When performing any type of vacuum heat treatment it is always important to be aware of the possibility of evaporation and/or sublimation of elements, which can be present in the material being processed, introduced into the vacuum system with the workload, inherent in the equipment design or introduced during maintenance, repair or rebuilds. In cases where evaporation may be a concern, the vaporization rate is of prime importance and is directly related to the furnace pressure (the higher the pressure, the more frequent the collision of gas molecules and correspondingly, the few metal atoms leave the metal’s surface).
What is Evaporation? Vaporization is the process that occurs when a chemical or element is converted from a liquid (or a solid) to a gas. When a liquid is converted to a gas, the process is called evaporation or boiling; when a solid is converted to a gas, the process is called sublimation. The pressure exerted by the vapor of a liquid in a confined space is called its vapor pressure. As the temperature increases so too does its vapor pressure. Conversely, the vapor pressure decreases as the temperature decreases.
Resources
- « Previous Page
- 1
- …
- 9
- 10
- 11
- 12
- 13
- …
- 34
- Next Page »

