Vacaero

Manufacturers of heat treating and brazing vacuum furnaces and controls, complete hot zone and vacuum furnace retrofits, thermal spray coatings, plasma, HVOF and paint coating services.

VAC AERO Service Experience Trust
Canada FrançaisAccessibility |
  • Home
  • Company
  • Vacuum Furnaces
  • Thermal Processing
  • Coatings
  • Service & Support
  • Resources
  • Contact Us
  • Request for Quote

Use of the Scanning Electron Microscope in Failure Analysis

February 2, 2015 by George Vander Voort

Use of the Scanning Electron Microscope in Failure Analysis

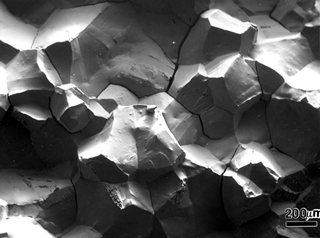
Commercial introduction of the Scanning Electron Microscope (SEM) in 1965, and its subsequent rapid development and implementation in metallographic laboratories, has had a profound influence on failure studies. The chief advantage of the SEM is its great depth of field in comparison of the light microscope. Observations can be made over a much wider range of magnifications including those above the range for light microscopes (and those below the range of TEM replicas). Examination of fracture features by SEM is much simpler than through the study of replicas with the Transmission Electron Microscope, TEM. A further advantage of the SEM is the chemical analytical capability of spectrometers that can be attached to the microscope, Energy-dispersive Spectrometers (EDS) being the most common.

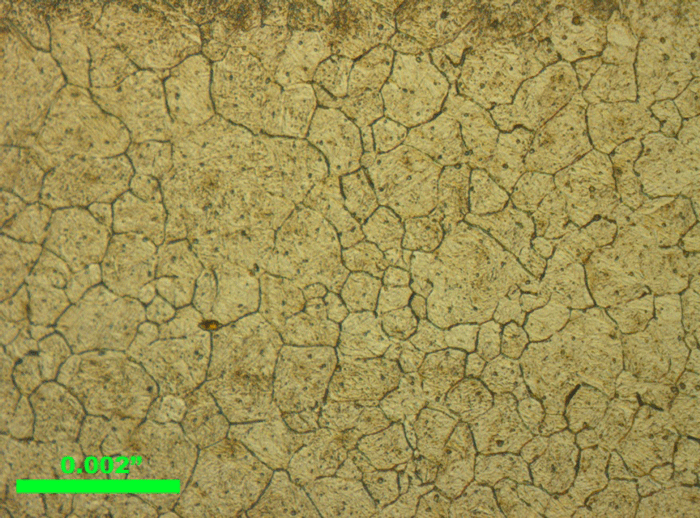
The study of fractures with the unaided eye has been practiced since antiquity chiefly for controlling the quality of metals production. R. A. F. de Réammur may have been the first to examine and publish drawings of fractures examined at high magnifications, at least 100X, in 1722. R. Mallet appears to have been the first to link fracture appearance to service performances in a study of failed cannon barrels published in 1856. Adolf Martens may have been the first to study both fracture surfaces and the underlying microstructures in 1878 followed by the first description of fracture surface features in 1887 when he showed that these lineal features could be traced backward to identify the fracture origin.

Safety in the Metallography Laboratory

January 14, 2015 by George Vander Voort

Safety in the Metallography Laboratory

The metallographic laboratory is a relatively safe working environment; however, there are dangers inherent to the job. Included in these dangers is exposure to heat, acids, bases, oxidizers and solvents. Specimen preparation devices, such as drill presses, shears and cutoff saws, also present hazards. In general, these dangers can be minimized if the metallographer consults documents such as ASTM E 2014 (Standard Guide on Metallographic Laboratory Safety) and relevant Material Safety Data Sheets (MSDS) before working with unfamiliar chemicals. Common sense, caution, training in basic laboratory skills, a laboratory safety program, access to safety reference books – these are some of the ingredients of a recipe for laboratory safety.

Safe working habits begin with good housekeeping. A neat, orderly laboratory promotes safe working habits, while a sloppy, messy work area invites disaster. Good working habits include such obvious, commonsense items as washing the hands after handling chemicals or before eating. Simple carelessness can cause accidents. For example, failure to clean glassware after use can cause an accident for the next user. Another common problem is burns due to failure to properly clean acid spills or splatter. 

Selective Etching and Quantitative Measurements Used to Assess the Thermal Exposure to the Lower Head of the Three-Mile Island Unit 2 Nuclear Reactor

December 5, 2014 by George Vander Voort

Selective Etching and Quantitative Measurements Used to Assess the Thermal Exposure to the Lower Head of the Three-Mile Island Unit 2 Nuclear Reactor

The accident at Unit No. 2 of the Three Mile Island nuclear reactor (TMI-2) on March 28, 1979 was the worst nuclear accident in US history and crippled the nuclear industry. It was not possible to remove specimens from the lower head until January – March 1990. Fourteen of the fifteen specimens removed by electrical discharge machining were from under the debris pile that accumulated on the lower head due to melting of ~19,000 kg (~45%) of the core. Specimens were previously cut from the lower head of a cancelled reactor of very similar size and design destined for Midland, Michigan. These specimens were subjected to controlled heating cycles with peak temperatures from 800 to 1100°C for periods of 1 to 100 minutes. The writer examined both sets of specimens and employed selective etching followed by quantitative metallography (by image analysis) to obtain a far more detailed description of the thermal exposure experienced than had been obtained previously. 

Delineation and Measurement of Grain Size by EBSD

November 13, 2014 by George Vander Voort

Delineation and Measurement of Grain Size by EBSD

Grain size measurement by electron backscattered diffraction (EBSD) has several unique advantages over the traditional measurement of etched specimens by the light optical microscopy (LOM) approach as defined in ASTM E 112. This is most evident when trying to measure the grain size of twinned face-centered cubic (FCC) metals where two major problems are encountered.

First, in many cases, it is difficult to reveal a very high percentage of the grain boundaries by etching. Secondly, nearly all etchants for twinned FCC metals do reveal the twin boundaries and one must ignore the twin boundaries when measuring the grain size by LOM. The notable exception to this experience is electrolytic etching of the 300 series of austenitic stainless steels where Bell and Sonon’s aqueous 60% nitric acid [1], using a platinum cathode and a voltage no greater than 1.5 V DC will reveal nearly 100% of the grain boundaries and virtually none of the twin boundaries. Another significant problem that affects EBSD results somewhat more than LOM etching results is the greater difficulty in preparing the highly ductile FCC metals to the perfection needed to get a very high percentage of the pixels to be indexable. Specimen preparation [2-4] is a very critical step in getting a very high percentage of indexable pixels in the field of view. This is not a trivial matter.

Difficulties Using Standard Chart Methods for Rating Non-Metallic Inclusions

October 13, 2014 by George Vander Voort

Untitled-1
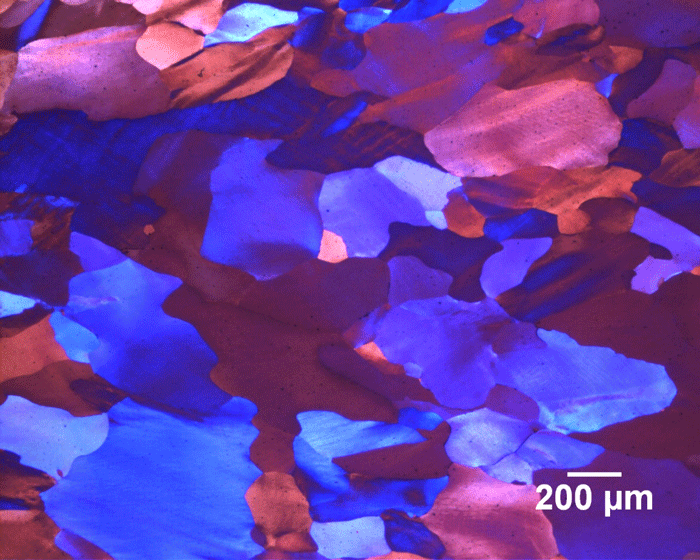
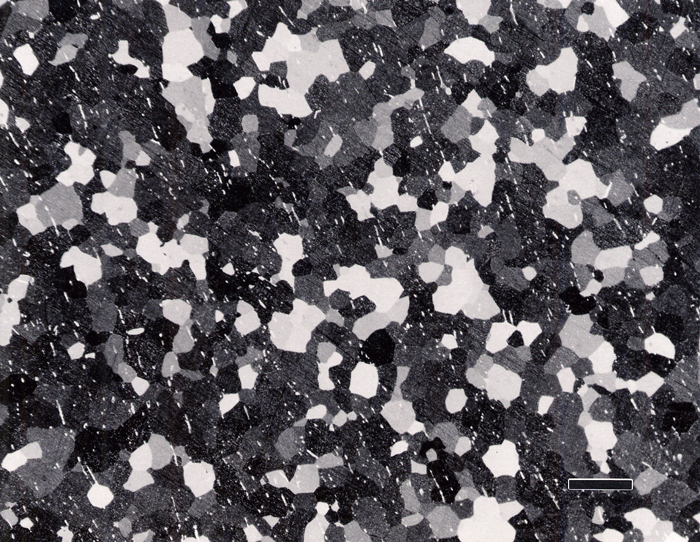
Over the years, ASTM Committee E-4 on Metallography has conducted interlaboratory test programs to evaluate the precision and bias associated with measurements of microstructure using proposed and existing test methods. ASTM decided in the late 1970s that all test methods that generated numerical data must have a precision and bias section defining the repeatability and reproducibility of the method. Defining bias associated with a test method is difficult unless there is an absolute known value for the quantity being measured and this is not possible when microstructural features are being measured. This paper shows the results for an interlaboratory test using Method A, “worst field” ratings of inclusions in steels by ASTM E-45. The results from 9 people who were reported to be qualified, regular users of the method revealed consistent problems of misclassification of inclusions types and a wide range of severity ratings for each specimen.

ASTM E45 was created in 1942 and was based on an earlier (1, 2) chart developed by Jernkontoret in Sweden. The charts were designed to determine the size, distribution, number and types of indigenous inclusions (naturally occurring particles that form before or during solidification due to limited solid solubility for O and S) in steels. Originally, E45 included 3 charts, Plates I, II and III, but now there are two, Plates 1r and II. Plate 1r replaced Plates I and III after these charts were measured (3) and corrected in the creating of the image analysis method for making E45 JK inclusion ratings (4, 5) published as E1122 in 1992, which was incorporated into E45 in 2006. The JK chart, the original Plate I, categorized indigenous inclusions as: sulfides (type A), aluminates (type B), silicates (type C) and globular oxides (type D), although the classification was stated to be only by morphology. There were thin and thick categories of each based on their thickness (or diameter for the D types) and the severity ratings varied in whole increments from 1 to 5. Plate III was similar but the severity limits were in 0.5 increments from 0.5 to 2.5.

Revealing Prior-Austenite Grain Boundaries

August 21, 2014 by George Vander Voort

Revealing Prior-Austenite Grain Boundaries

Revealing the prior-austenite grain boundaries in heat treated steel is probably the most difficult, and frustrating task, faced by the metallographer or metallurgist. Grain boundaries, regardless of the type, are generally impossible to see in cast metals, as they solidify dendritically and segregation is present and often substantial. After deformation and annealing, if recrystallization occurs, grain boundaries in the product may be visible, but they are not necessarily prior-austenite grain boundaries.

In a deformed, partially recrystallized specimen, it is usually possible to see both recrystallized and non-recrystallized grain boundaries. But, prior-austenite grain boundaries are those of the steel when it was austenitized prior to quenching and tempering. If the steel’s microstructure is fully martensitic after hardening, or contains some retained austenite or lower bainite, the prior-austenite grain boundaries may be revealed. They can often be revealed in specimens isothermally processed to obtain fully lower bainitic microstructures; but they cannot be revealed if the transformation microstructure consists of upper bainite, pearlite and/or ferrite. Composition also is important in trying to reveal the prior-austenite grain boundaries, as is the tempering temperature. In general, steels with low carbon contents and low phosphorous contents are very difficult subjects.  This article summarizes the state-of-the-art in revealing prior-austenite grain boundaries.

Metallographic Preparation of Titanium and Its Alloys

July 9, 2014 by George Vander Voort

Metallographic Preparation of Titanium and Its Alloys

Experiments were conducted using three-step preparation procedures for titanium and its alloys.  For CP titanium and alpha-titanium alloys, use of an attack-polishing agent in the third step was required to obtain good results.  The experiments defined optimum surfaces for each step and operating conditions.  Two-phase, α-ß alloy specimens are significantly easier to prepare than a single-phase α specimen. The method does yield perfect polarized light response with α-phase alloys, such as commercial-purity titanium.

Titanium and its alloys have become quite important commercially over the past fifty years due to their low density, good strength-to-weight ratio, excellent corrosion resistance and good mechanical properties.  On the negative side, the alloys are expensive to produce. Titanium, like iron, is allotropic and this produces many heat treatment similarities with steels.  Moreover, the influences of alloying elements are assessed in like manner regarding their ability to stabilize the low temperature phase, alpha, or the high temperature phase, beta.  Like steels, Ti and its alloys are generally characterized by their stable room temperature phases – alpha alloys, alpha-beta alloys and beta alloys, but with two additional categories: near alpha and near beta.

  • « Previous Page
  • 1
  • 2
  • 3
  • 4
  • 5
  • …
  • 8
  • Next Page »
  • Vacuum Heat Treating: Education & Training
    • News & Announcements
  • Vacuum Technology with The Heat Treat Doctor
  • Vacuum Pump Technology: Education & Training
  • Metallography with George Vander Voort
  • Q’s and A’s
  • “What’s Hot!” Newsletter
  • Glossary Metallurgical Terms
voort
Vertical vacuum furnace specifications
horizontal vacuum furnace specifications
Vacuum Furnaces
Vacuum Furnace Zone Rebuilds
Technical Articles and Resources

Specialists in Vacuum Furnace Technology - High Quality Vacuum Furnace Manufacturer

COMPANY

  • VAC AERO Products & Services
  • Company History
  • Certificates & Approvals
  • Employment Opportunities
  • Values & Commitment
  • Corporate Sponsorship
  • Corporate Brochure
  • Terms & Conditions of Use
  • Privacy Policy

FURNACE MANUFACTURING

  • Horizontal Furnace Specs
  • Vertical Furnace Specs
  • Hot Zones
  • Control Systems
  • Custom Vacuum Furnaces
  • Quality Control
  • Service & Support
  • Furnace Request For Quote (RFQ) Form

THERMAL PROCESSING

  • Ontario – Plant 1
  • Ontario – Plant 2
  • Quebec – Thermal Processing Division
  • Specific Heat Treating & Brazing Approvals
  • Metallurgical Services Matrix

COATINGS

  • Quebec Coatings Division
  • HVOF Spray System
  • Specific Coating Approvals
  • Metallurgical Services Matrix

SERVICES & SUPPORT

  • Furnace Rebuilds & Upgrades
  • Hot Zone Rebuilds
  • Process Controls Upgrades
  • Ordering Parts
  • Field Service
  • Training Seminars

© Copyright 2016 VAC AERO - All rights reserved. Site Map Contact Terms and Conditions Privacy